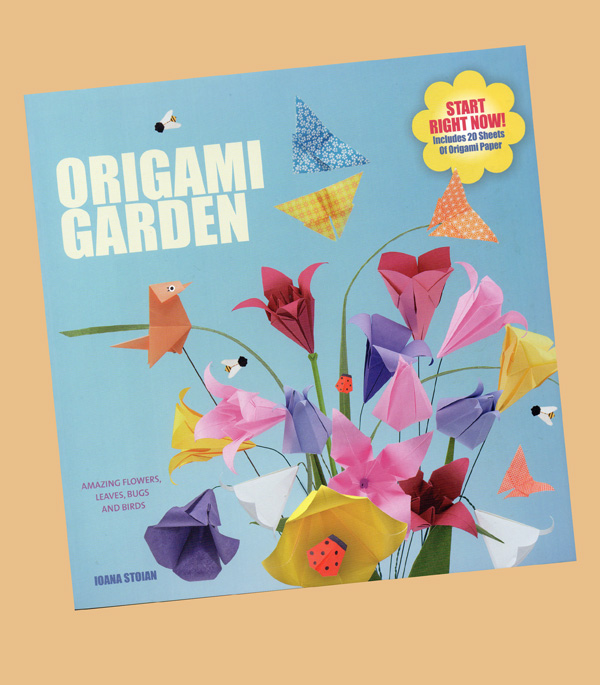
Thursday 24 March 2016

Hexagonal Basket in a Bag

Today's project would be fun as a do-together parent/child activity. It is a kit for a hexagonal basket... in a bag. I have given you a choice of two flat-pack basket styles - slider panels or bow-tied. The basket-link handle is attached to the basket base with two teeny brads - so no under-threes!

Here are your freebie papermakes, .pdf (by hand) or digi-cut (Silhouette):

Slider-panel_Basket.pdf 
Bow-tied_Basket.pdf 
Bag.pdf 

Slider-panel_Basket.studio3 
Bow-tied_Basket.studio3 
Bag.studio3 

Hexagonal Basket in a Bag

This is a fun and easy project - not rocket science, so I'll just talk you through some of the finer points. The baskets are put into the bag partially assembled. For the slider style, the side units are pre-folded with the channels made. For the bow-tied style, the reinforcements are glued on to the back of the holes.The bow-tied basket base is pieced... simply so it can fit into the bag. For the bow-tied basket, you need six 20cm (8in) pieces of narrow ribbon.

Here are some visual how-tos, to get you up to speed:
Assembly for the slider-style basket.
Assembly for the bow-tied basket. Tie the adjacent corners.
Same linked handle for both basket styles.
Linked handle: it takes about 12 links to make a handle - alternate the colours. Fold all the links in half, crosswise. The first link is the starter link - with the slot. Squeeze the next link in half lengthwise and insert it through the slot (both layers). Then twist the link back to the crosswise fold. Join all the links in the same way. The final (blue) link has no slot in it - just a brad hole. Join the handle to the basket with brads. You may have to carefully pierce the hole through the middle layer in order to insert the brad.

Have fun making your flat-pack baskets. I hope they are accompanied by chocolate treats. :)


Friday 18 March 2016

Flower Basket Storage Bunting

I am very big on storage buntings - a festive way to use unused wall space. An excellent idea for your craft corner. These flowery gondolas are a pillow box variation. They are fun and easy to make.

Here are your free designs, cut-by-hand .pdf or digi-cut for Silhouette:
BlueGondola.pdf
PinkGondola.pdf

BlueGondola.studio3
PinkGondola.studio3


To make up:
1 Print the template.
2 Using a fine-point embossing tool, emboss all the fold lines on the gondola - taking special care on the curved base folds. Butt the tool against a small metal ruler for the straight lines.
3 Cut out the template pieces by hand or machine.
4 Carefully crease all the folds, paying special attention to the curved base folds.
5 Stick the short side tabs onto the base, and the side folds onto the side panels. (Use tacky PVA glue or d/s tapel)
6 Glue a side liner inside each side - apply tacky PVA glue sparingly, evenly with a cocktail stick.  
7 Glue reinforcements onto the front and back of the side panel holes.
8 Pop in the base liner - a little bit of d/s tape is all you need.
9 Make as many gondolas as you required. String them onto baker's twine.

You can also use a single gondola as a solo hanging basket. 

Wednesday 9 March 2016

Origami Garden, by Ioana Stoian. Review

Origami Garden
Amazing flowers, leaves, Bugs and Birds
Ioana Stoian
Search Press 2016
Paperback £10-99 (includes 20 sheets of origami paper)
ISBN 978 1 782 21 275 1

Star rating: *****

The trees are budding. Spring’s just around the corner. Time to feature a delightful new garden-themed origami book. Ioana Stoian, author of Origami Garden, caught the origami bug at the source – on a trip to Japan. The fruits of her newfound enthusiasm are a career as a pro papercrafter – and this superb origami book. Origami Garden  contains the author’s own designs, traditional designs, and designs contributed by contemporary origami artists.

Origami Garden is a joy from start to finish. The book’s production values are sky-high, and the origami projects are super-appealing (you’ll want to make them all). Front-of-book, the projects are imaginatively displayed in themed “sets” – Washing Day (clothes on a line, picnic basket, bumble bees, flowers),  A Sunny Afternoon( birds, butterflies, flowers, mushrooms, cat), By the Pond (jumping frog, crow, etc.), In the Garden (ladybirds, leaves, pot plants, caterpillar, watering can). Next up –  a photo gallery project directory with project skill level indicated. This is followed by the individual project how-tos, with step-by-step illustrations and accompanying text to show you all the moves. Each project gets a close-up here – still imaginatively propped. Back-of-book, tucked into a pretty print envelope... a stash of 20 sheets of origami paper, mixed prints and plain. The prints are particularly appealing, in zingy contemporary patterns in cheerful colours.

Namechecking some of the star projects: Slow snail (amazing spiral configuration), Autumn leaf (the beauty is in the detail – veins), Busy Bee

This winning labour of love is super-giftable. It would make an ideal birthday gift for a child, although you don’t have to be a child to appreciate the childlike joy this book – and its projects – generates.


Tuesday 1 March 2016

Milk Carton Printer's Tray Tutorial

I've got a thing for milk cartons  - and for printer's trays. So, I thought - why not combine the two to make a fun hybrid container? The handles of this papercrafted tray have trademark milk carton apexes.
The little compartments are ideal for storing buttons, brads, paperclips, what have you.

Here are your free files, pdf for hand-cut, or Silhouette for digi-cut:
MilkCartonTrayBase.pdf 
MilkCartonTray Handles.pdf 
MilkCartonTrayCompartments.pdf 

MilkCartonTray.studio3 

Milk Carton Printer's Tray

Step-by-step how-to photos follow. I used 160gsm photocopier card. The smaller size is 80% of the size given. You may have to tweak the size of the compartments by a degree or so to get a good fit, depending on your paper choice.


Have fun making your Milk Carton Printer's Trays!