


If you are lucky enough to own a Silhouette Curio digital papercutter, then you can used it to emboss the fold lines. I am proud to be on the Silhouette UK Design Team. I am currently exploring all the creative capabilities of the new Curio machine - and embossing for pleating is one of them.
If you are entirely handcrafting the ornaments, no worries - you can score the folds by hand using a fine-point embossing tool and a metal ruler. Instructions are given for both methods.
Here are your templates:
PleatedPaperGlobes.studio3
PleatedPaperGlobes1of2.pdf
PleatedPaperGlobes2of2.pdf


Whether you are making the globes digitally or by hand, they are assembled in the exactly the same way. The difference is in the cutting out and prep.

You will need:
Photocopier card
30cm (12in) of 3mm (1/8in) ribbon per ornament
A pony bead
Craft thread, tapestry needle
Double-sided tape or tacky PVA glue
By hand, you also need:
Fine-point embossing tool
Small metal ruler
1/16in circle hand punch or a piercing tool
Silhouette Curio Prep:
 |
| Select a design, slide it on to the mat. Print two. |
move it on to the mat on screen and print two copies. Trim your paper to fit the mat. Use the Curio embossing mat.
 |
| Blue lines = emboss. Fine emboss tool in righthand carriage. |
B This design is Cut by Color. Place the fine embossing tool in the righthand holder and the ratchet blade in the lefthand holder. Adjust the cutting instructions on the right to indicate this. Blue = emboss, purple = cut. Move the folding guide over the globe design with edges aligned. Tick the box for the blue lines to activate them, turn off the others. Select cardstock and embossing tool and send the design to the Curio.
 |
| Purple lines = cut. Blade in lefthand carriage. |
C The fold lines are now embossed. Next, cut the edges. Turn off the blue lines and turn on the purple lines for "cut". Select cardstock, ratchet blade, then send to be cut.
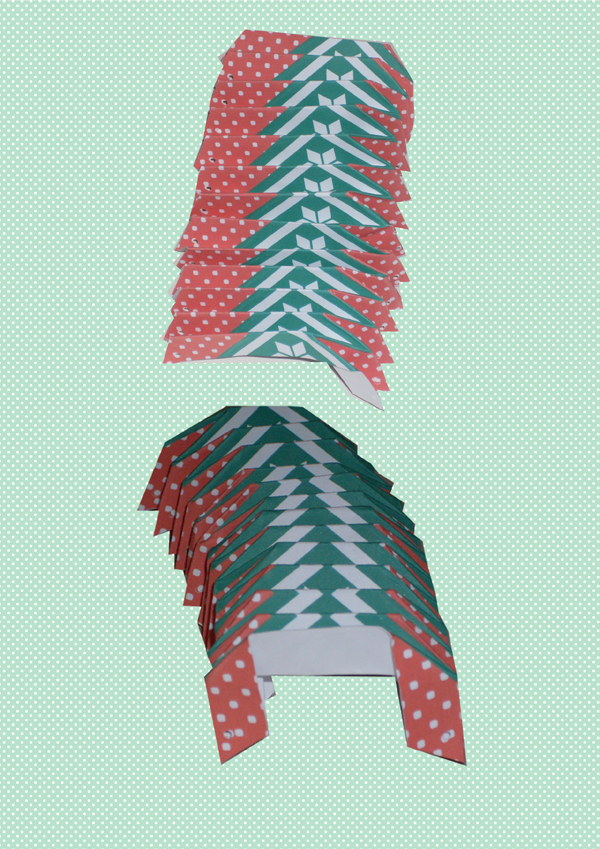
You need two zigzag strips per ornament.
By hand:
A You need two identical zigzag strips per ornament. Print, then cut out the ornaments with scissors. Emboss the fold lines using a fine-point embossing tool held against a small metal ruler. Punch the lacing holes with a hand punch or a piercing tool.
OK - from here on in the how-tos are the same - handmade with love!


2 "Prime" the embossed folds so they will fall into place when you fold them for real. Crease the accordion folds both ways (this is called a "universal fold", according to papercraft guru Paul Jackson). Crease all the Vs. The short fold at the top of each V is a mountain fold.
3 Next, begin creasing for real on one side of the zigzags. Place your thumb on either side of the V and pop each fold - kind of like bubble wrap! The V-pleats will fall into place.


6 Thread a tapestry needle with craft thread. Lace through the pleat holes as shown. Begin and end at a strip join. Remove the needle. Next, thread a pony bead (big plastic bead used for hair decorations and kidcraft) onto a 30cm (12in) piece of ribbon.


If you are now hooked on pleating and want to discover more, you can check out this fab new title from Paul Jackson:


If you prefer plain to fancy, click on the link for color block pleated globes made exactly the same way.

No comments:
Post a Comment